
I love designing bralettes.
They can be so unique and really showcase how modern crochet can be!

I really wanted to design something off the shoulder.
For more comfort, add straps if you like, it will still look just as nice!
I used Comfy Colour Mist in Foggy Beach.
This yarn is so soft, it's a worsted weight, and made up of 75% Pima Cotton.
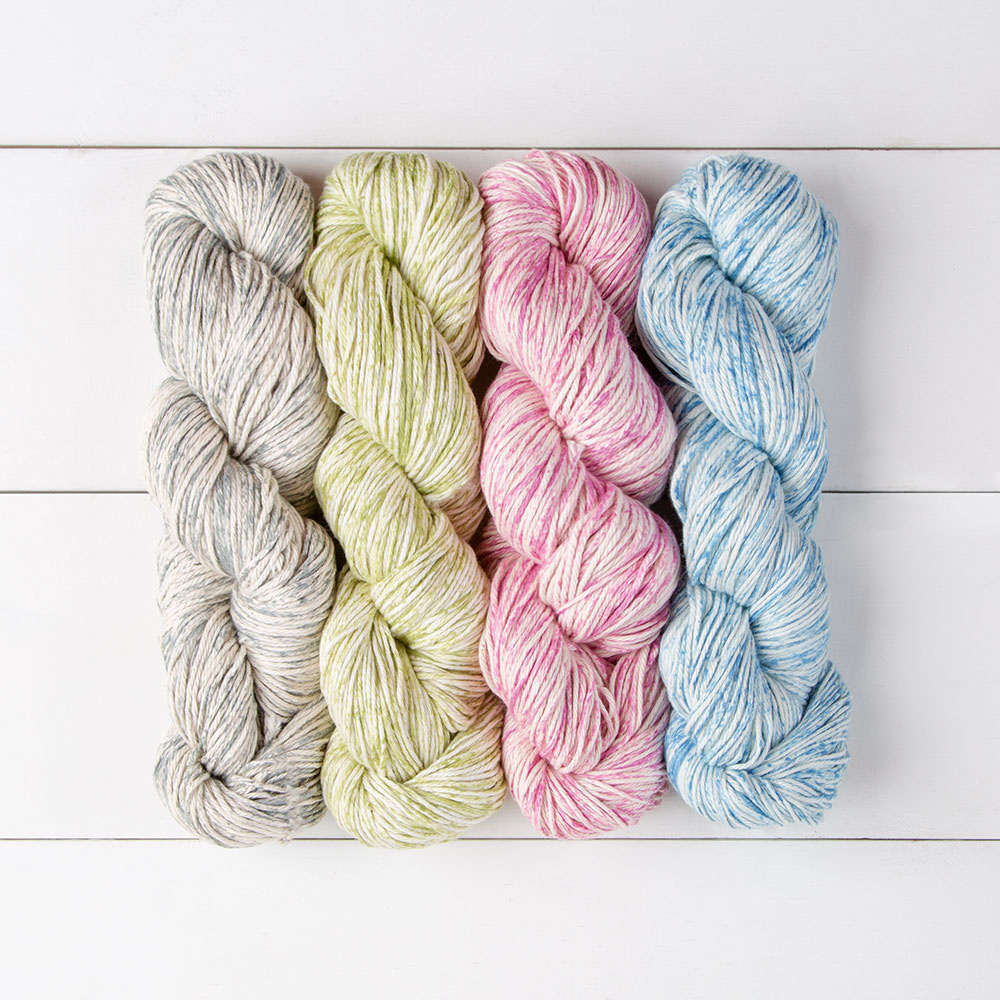
The acrylic microfiber gives elasticity to this lightweight, long wearing, machine washable yarn.
It's available in 14 colors, check them out - click HERE!
Now let's get to the pattern.
Notes before you begin:
- The cups can be customized to ANY cup size. Keep working rows and hold it up against you as you go.
- Cotton yarn is best, as it a stiffness to it and can easily be worn in the water and hand washed.
- This bralette can be worn as is, off the shoulder. If you need more support, add a strap to each cup/side and tie it around your neck
- The cups are made first along with the side extension; then attached in the center; the border is worked under the cups; the arm ruffles are worked separately and attached; drawstring is weaved through the back
OTH Crochet Nook Pattern: Fly Away Bralette
Yarn: Comfy Color Mist in Foggy Beach
(I used one hank almost exactly, 100g/219yards)
Hook: 5mm Furls Crochet Hook
Notions: Scissors, Stitch Markers, Measuring Tape, Tapestry Needle
Abbreviations:
Ch: Chain
Sts: Stitches
Sk: Skip a stitch
SC: Single Crochet
DC: Double Crochet
FSC: Foundation Single Crochet
Sl St: Slip Stitch
Gauge: 12sts x 10 rows = 4"
Video Tutorial:
Here is a tutorial on how to make a bralette cup, click HERE
Cup (make two):
Chain 13.
Row 1: SC in the 2nd from the hook, SC across leaving the last st unworked. Add 3 SC in the last st. Place a stitch marker in the middle SC of the 3 you just worked.
*this marker will keep track of the center of your cup.*
DO NOT TURN.
Continue to SC along the other side of the chain until the end of the row. Ch 1, turn.
Row 2: SC in each st until you reach your stitch marker, remove the marker, and add 3 sc in that stitch. Add the stitch marker into the center of the 3 sc you just worked. Continue to SC along the side until the end of the row. Ch 1, turn.
Row 3: Repeat Row 2 until you've reached your desired cup size (for this bralette design, the cups are horizontal - the point of the cup will be the front center of the bralette)
Do not fasten off.

Work along the flat edge of the cup
Row 1: SC across the flat edge. Chain 1, turn
Row 2-8: Repeat Row 1 (work less or more rows here -this will fit around towards your back)
Row 9: DC in the first 2 sts, Ch 2, Sk 2. *DC in the next 2 sts, Ch 2, Sk 2. Repeat from * until the end of the row. Ch 2, turn.
Row 10 - 15: Repeat Row 9 (work less or more rows here -this will fit around towards your back and the yarn will be thread through to create the criss-cross tie back))
Fasten off.
Turn the cups towards each other and fasten the center with a piece of yarn, and double knot together (see picture below)

Now we are working the bottom of the bralette:
Add 2 stitch markers in the first 3 sc worked in each cup (see photo below).
Attach yarn at any end, SC across until you line up with the st marker - now chain until you reach the next st marker, now SC until the end, Ch1, turn.

I completed 8 rows.

Arm wings (make 2):
FSC and continue to try around your bicep until it feels comfortable.
I completed 45 rows, that loosely fit around my bicep.
Row 1: 2DC in the first st, Ch 1, Sk 1. *2DC in the next st, Ch 1, Sk 1. Repeat from * until the end of the row. Ch 2, turn.
Row 2: 3DC in the first st, Ch 1, Sk 1. *3DC in the next st, Ch 1, Sk 1. Repeat from * until the end of the row. Ch 2, turn.
Row 3: 3DC in the first st, Ch 1, Sk 1. *3DC in the next st, Ch 1, Sk 1. Repeat from * until the end of the row. Ch 2, turn.

Attaching the arm wings:
Whip stitch the wings to the bralette shown in the photo below.
Weave in ends.

Drawstring for the back:
Cut a long enough piece of yarn and weave through the back (like lacing a corset)


Done!
Again, if you feel like you need more support, add a strap to each cup and tie around your neck.

I'd love to see your Fly Away Bralette!
Tag me @OTHCrochetNook
No comments
Post a Comment