Cord Clutch


When I first got my hands on the Mini Cordage Yarn from We Are Knitters, I wanted to make so many things. It's so versatile and perfect for accessories and home decor. For obvious reasons, macramé would be a popular choice for this yarn but I really wanted to make a clutch for myself!


I wasn't sure how it was going to work up and to be honest, it's a wrist workout. It's tough and very hard but worth it. The texture is dreamy and it's so durable.

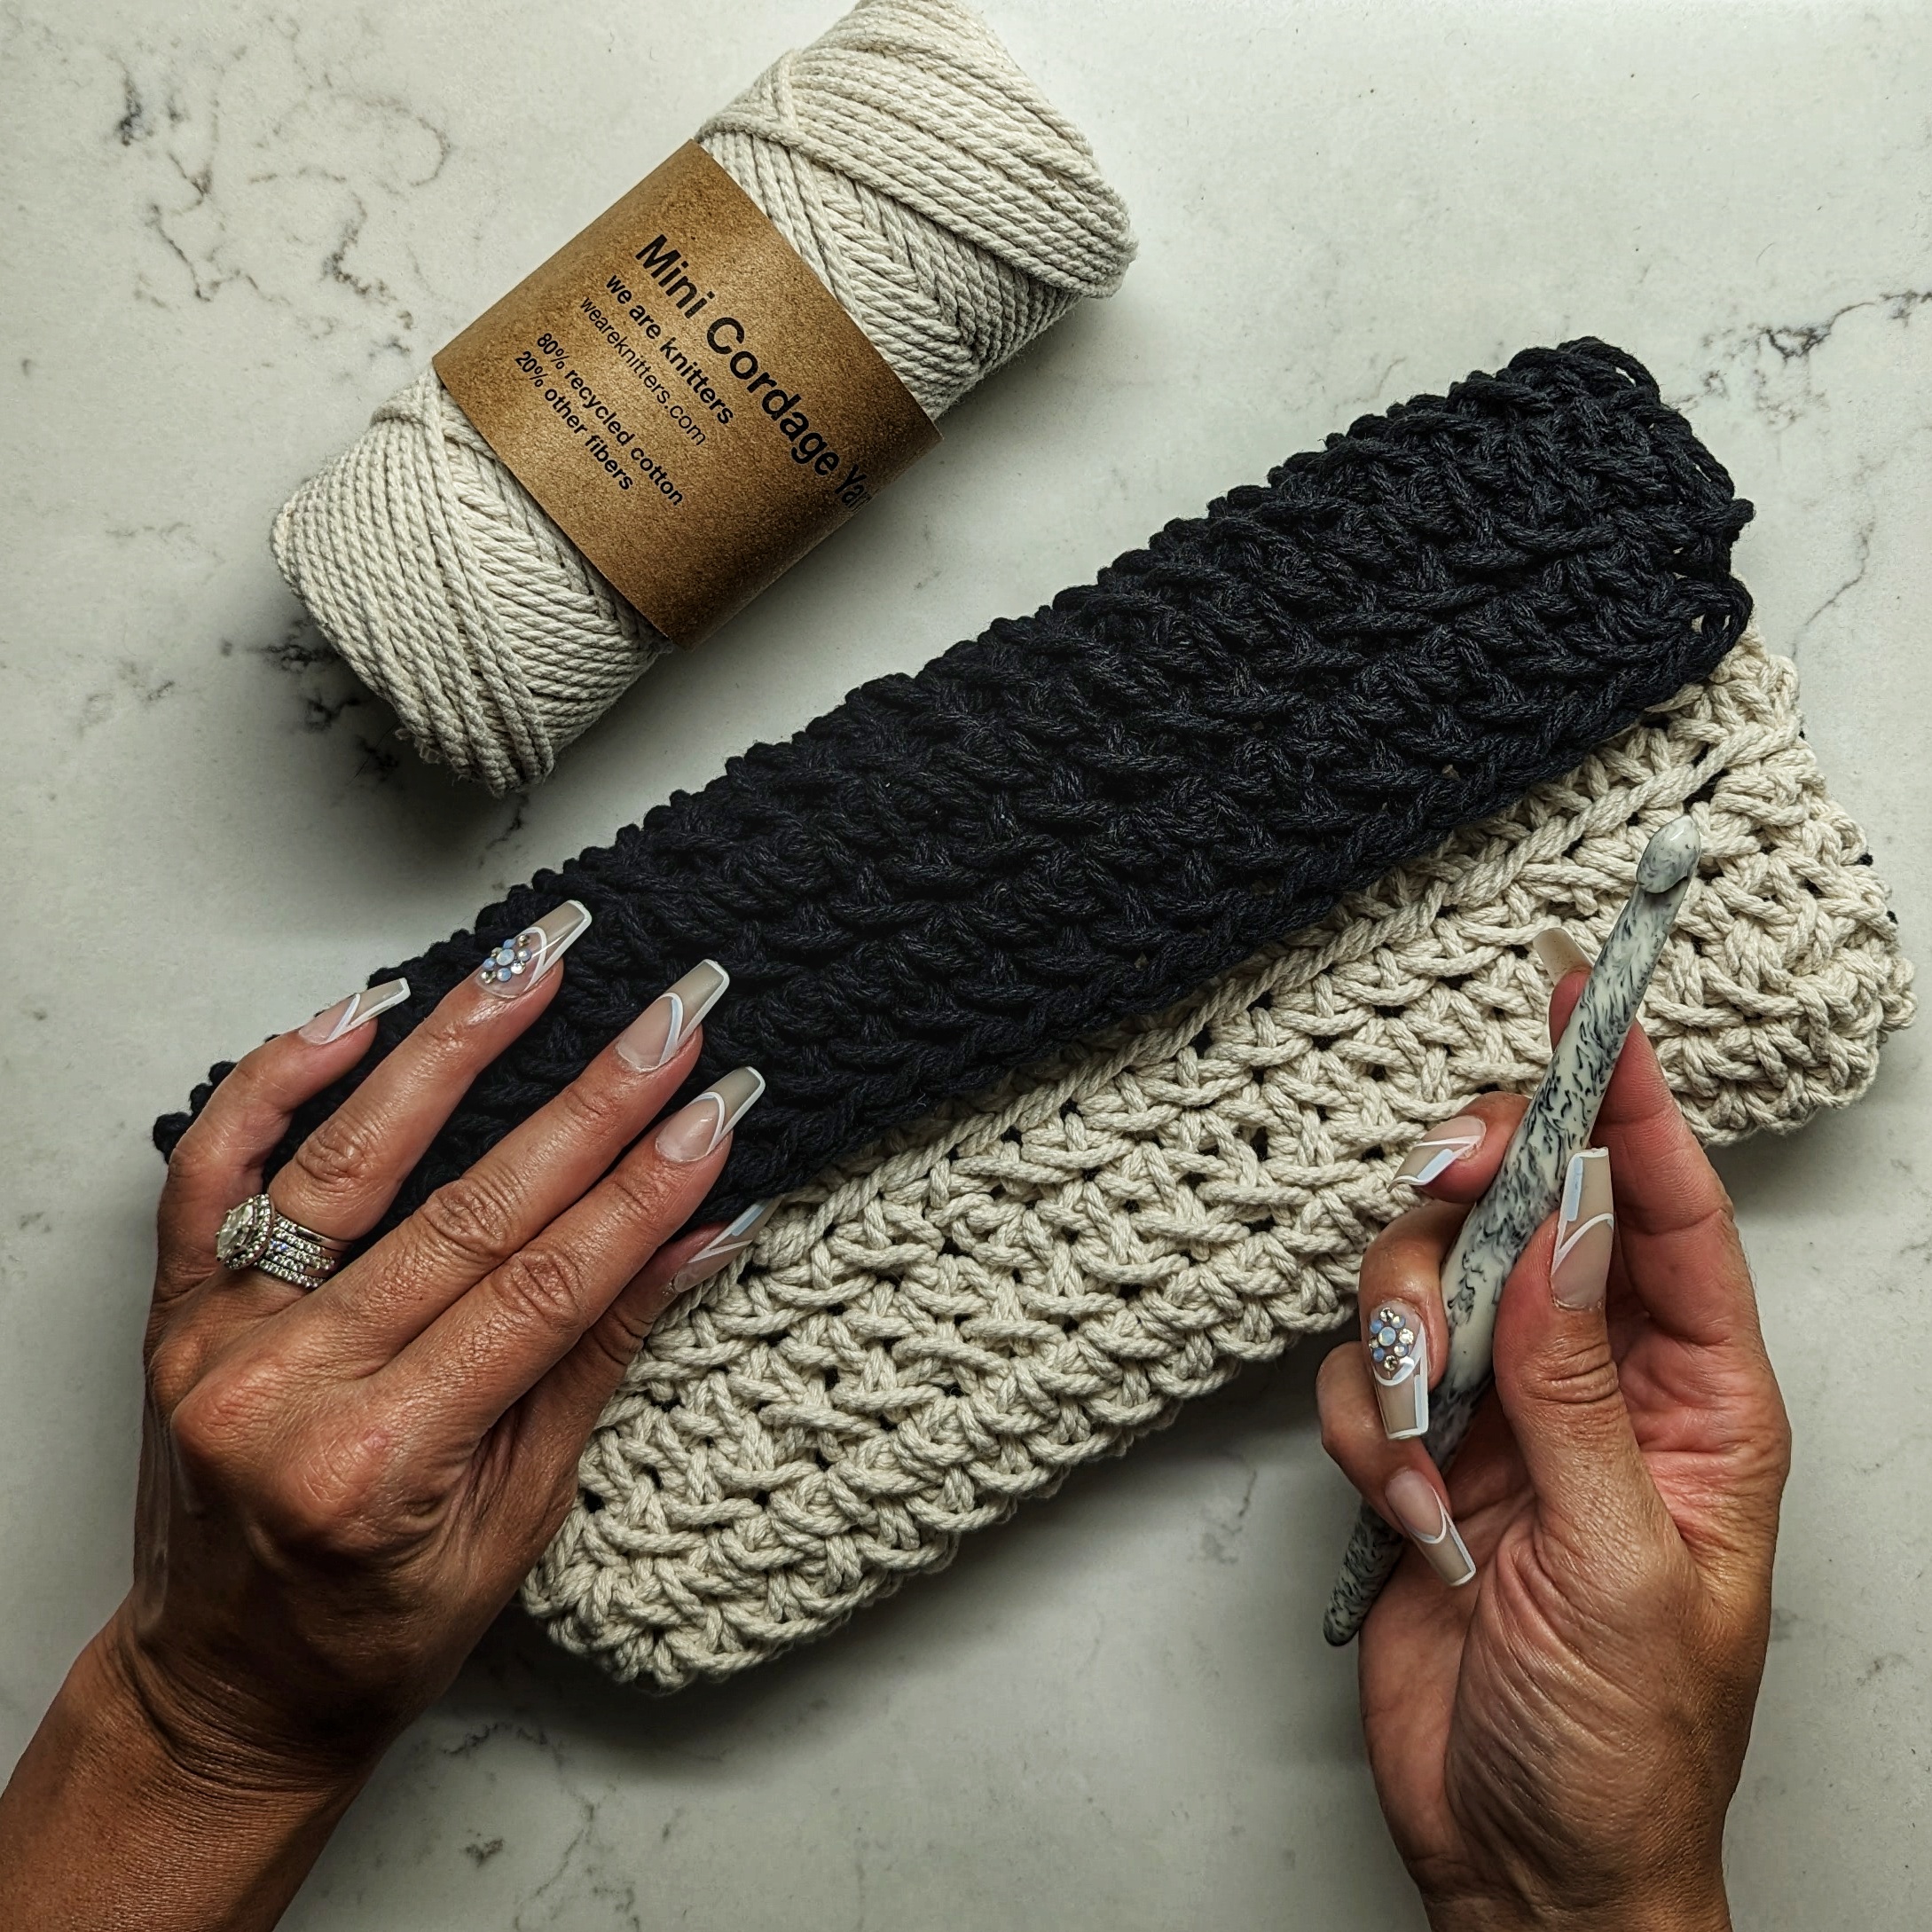
Mini Cordage Yarn is made up of 80% recycled cotton, so perfect for keeping sustainability in mind.

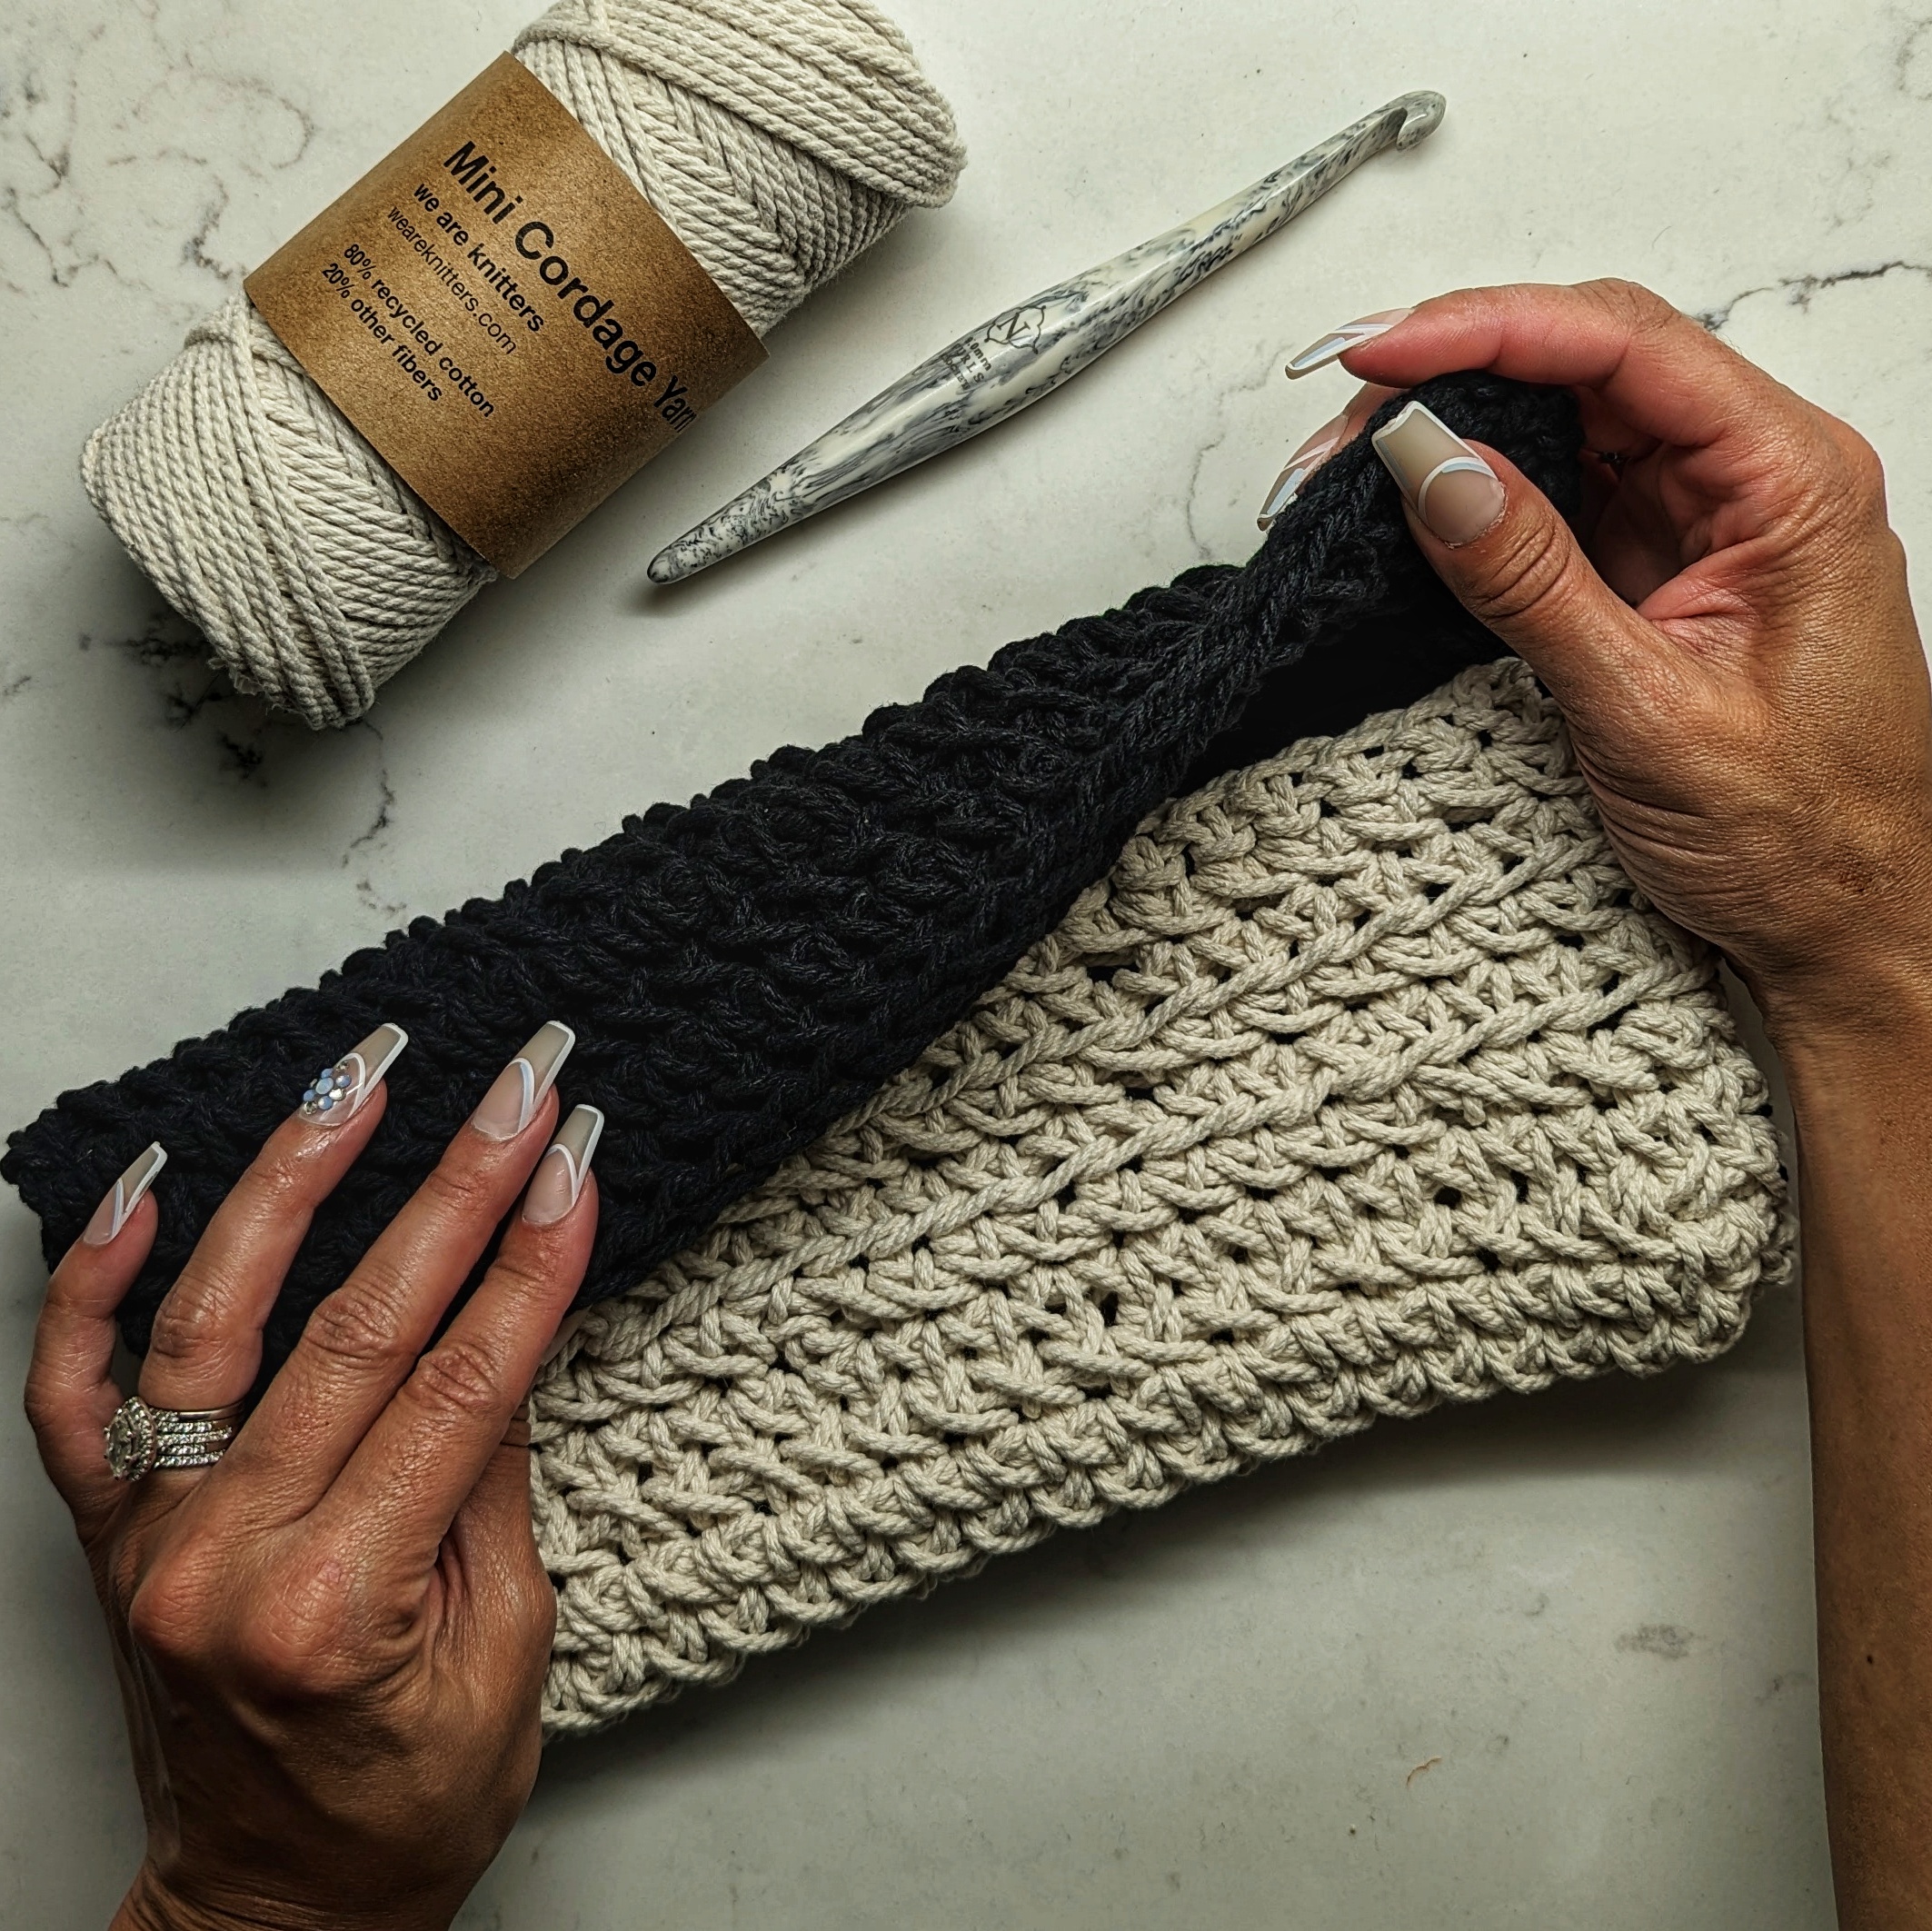
This pattern is just a rectangle using 2 colourways, seamed together, that's it.

Very easy!

OTH Crochet Nook: Cord Clutch

1 x Mini Cordage Yarn in off-white

1 x Mini Cordage Yarn in black

9mm Crochet Hook (I used Furls Crochet Cookie Swirl Hook, it's dreamy!)

Scissors

Tapestry needle (wide eye for cord)

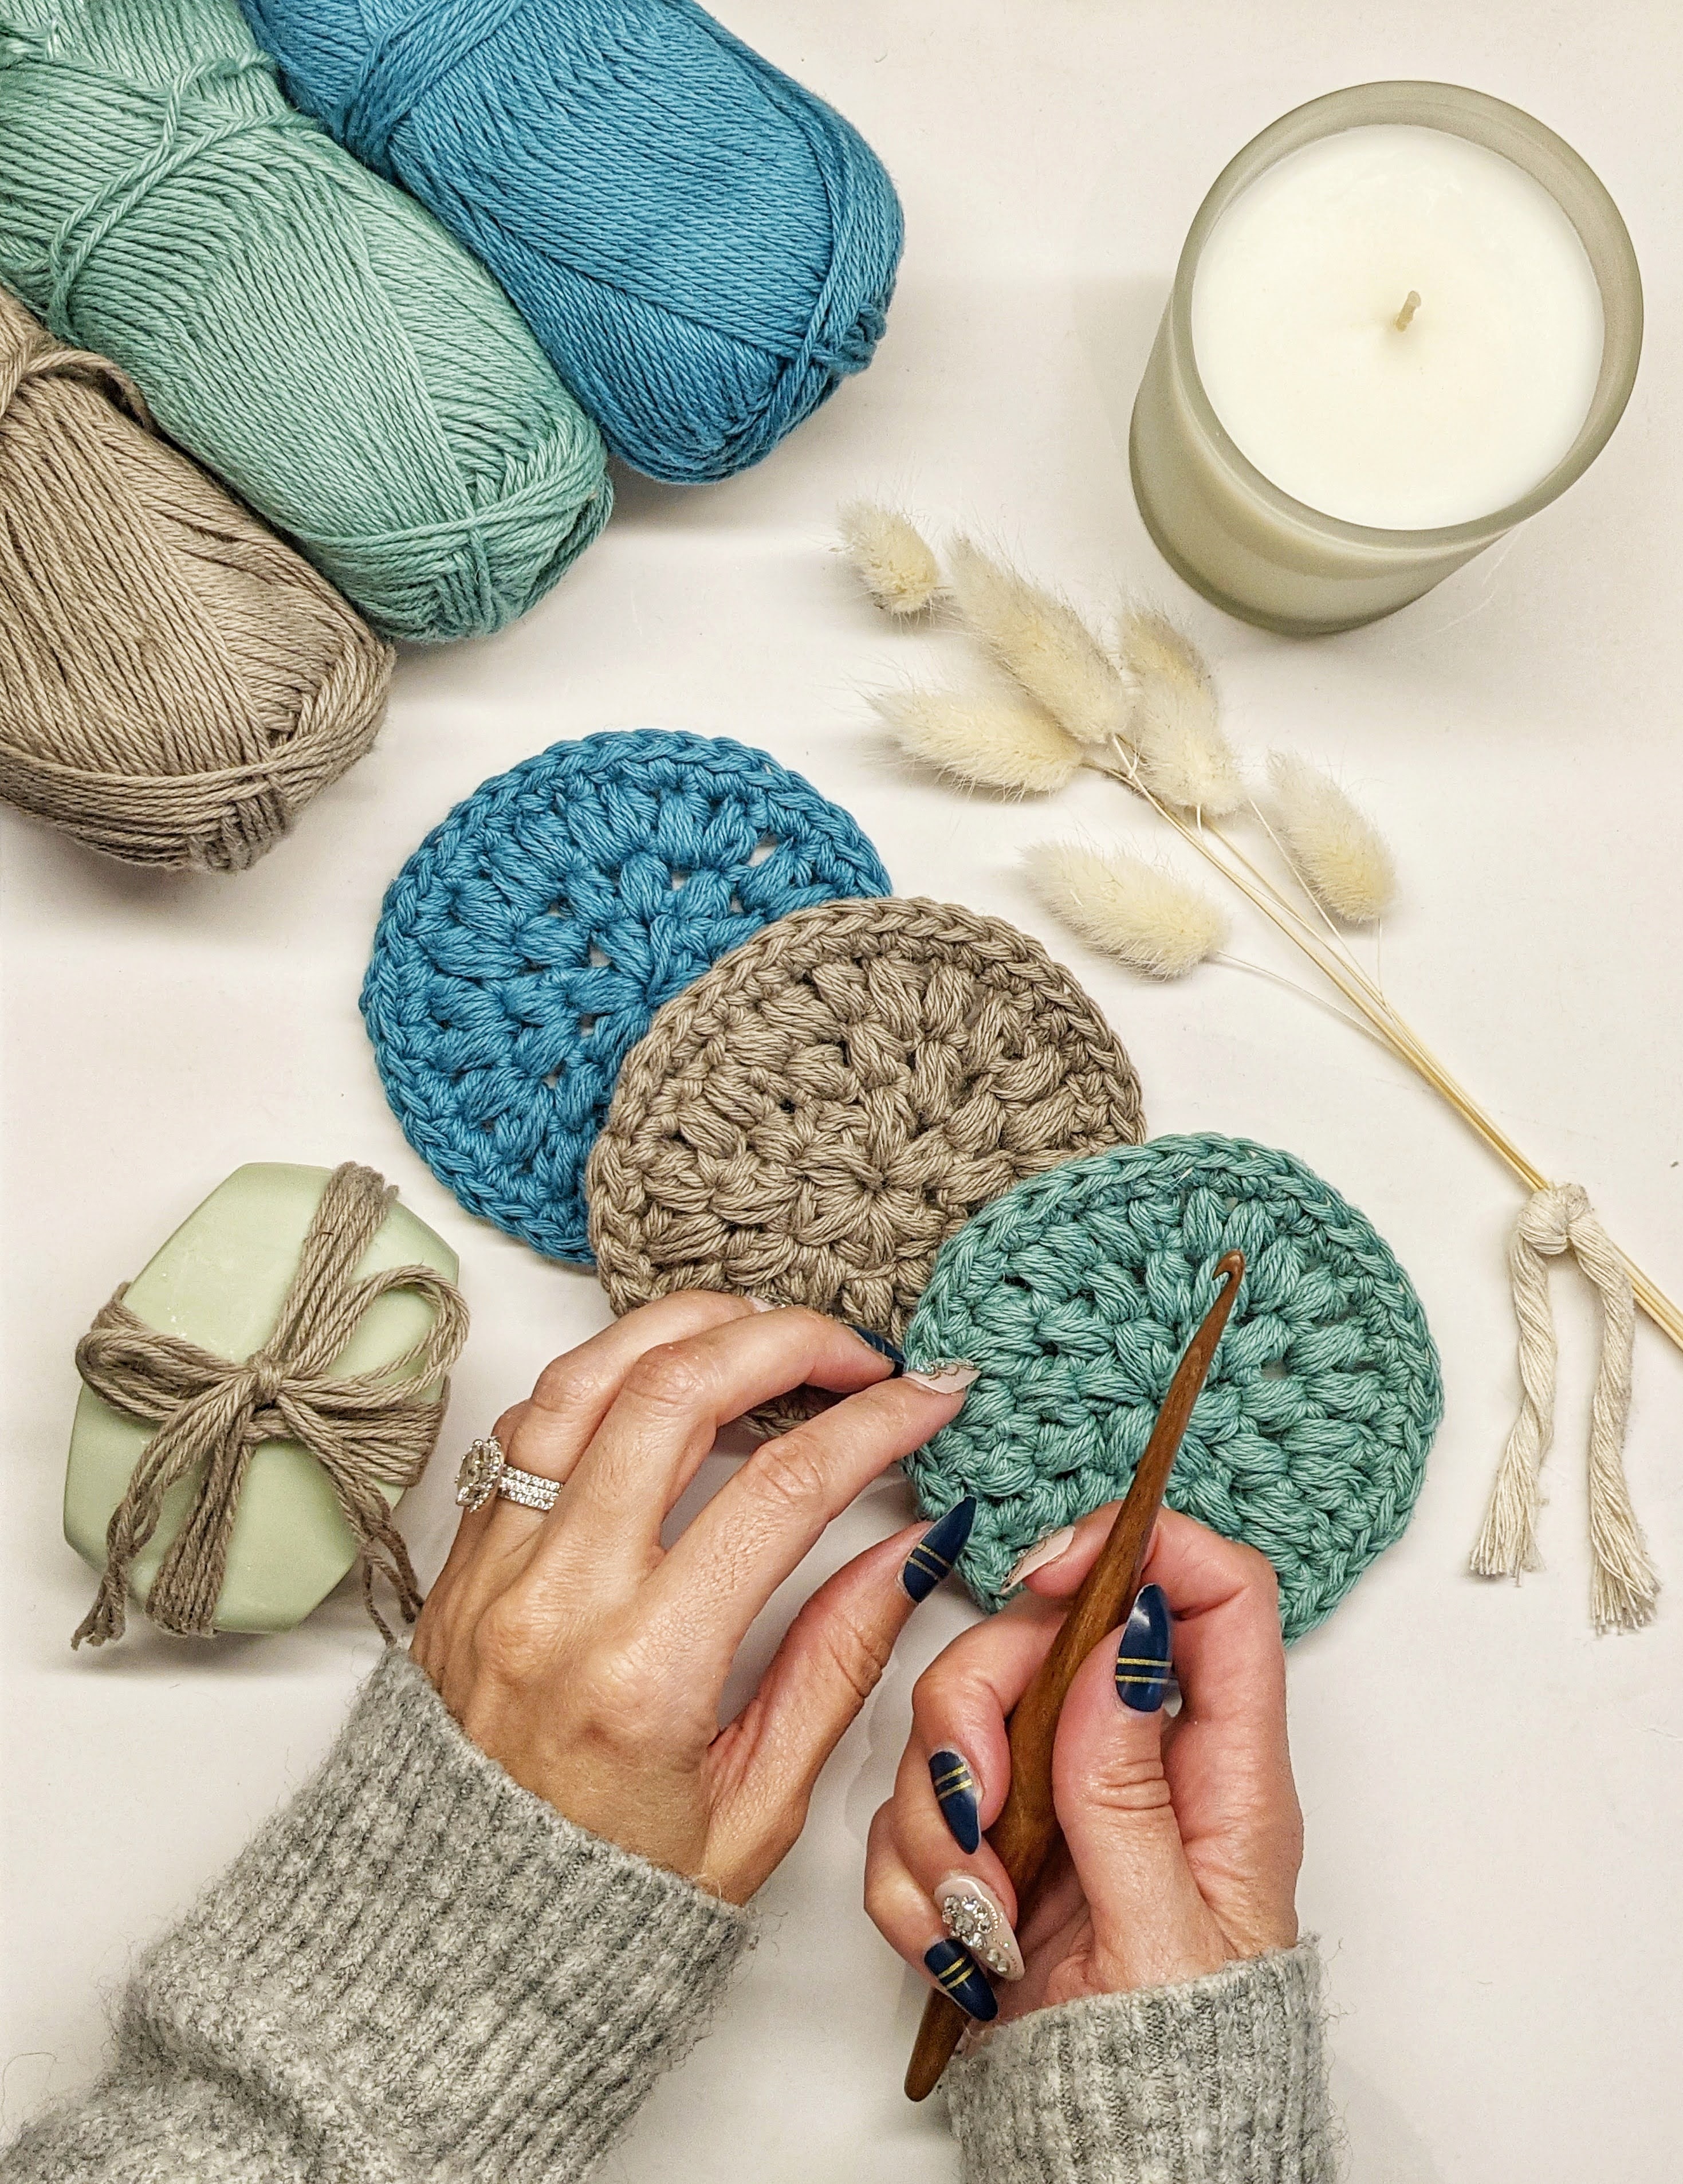
Herringbone single crochet stitch (HBSC): this is a beginner friendly stitch that shows so much texture and works up easily.  If you find it too hard to work in the 3rd loop, just work SC where you are used to. Here is a perfect video tutorial of the HBSC HERE. (source: For the Frills)

Ch 25

Row 1: SC in 2nd from the hook, SC in all stitches until the end of the row, ch 1. Turn. (24)

Row 2: HBSC in every stitch, ch 1. Turn. (24)

Repeat Row 2 until you have completed 24 rows in total.

Sl st and fasten off.

*I completed 12 rows of off-white and 12 rows of black

Seaming:

Laying the rectangle flat, you are going to fold it into thirds.

Seam the right and left side of the clutch tightly. Weave in your ends.

Turn inside out, puff out the corners, and that's it!


I'd love to see your cord clutch!

Tag me @OTHCrochetNook

Share:

Mo Bay Clutch


The beauty of any crochet bag, purse, or clutch is that it is handmade, making it unique and one-of-a-kind. I really loved how this one turned out.

I made this on my way to Jamaica on the the plane. In between some snacking, napping, and a washroom break...I finished this fairly quickly in just a few hours.  Of course, I had to name it the 'Mo Bay Clutch,' as that is short for Montego Bay, Jamaica.


When I had the idea to make this I really wanted a soft, washable, and durable yarn.  THE TAPE from We are Knitters is a dream for crochet accessories and home decor, it's perfect for clutches, bags, and purses.

The Tape yarn is made from material coming from the recycled T-shirts and its label says: 100% Recycled yarn. It's a sustainable option for your handmade items and so easy to work with.  It glides right off your hook and makes for a quick wip!


Here is the easy pattern!

OTH Crochet Nook: Mo Bay Clutch

Hook: 8mm

Yarn: 2 skeins of The Tape from We Are Knitters (I made mine in NAVY)

Scissors

Finished size: Height 8" x  Width 9"

Foundation Half Double Crochet (FHDC): this stitch takes getting used to, refer to this blog with step by step on how to do it, click HERE. (source: 1DogWoof.com)


Row 1: FHDC 41, 2 hdc in the last st, (do not turn), hdc in the next 40 sts on the other side; turn. (83 sts)

Row 2: Ch 1, hdc in first 40 sts, 2 hdc in each of the next 3 sts, hdc in the last 40 sts; turn. 

Row 3: Ch 1, hdc in first 40 sts, 2 hdc in each of the next 6 sts, hdc in the last 40 sts; turn.

Row 4: Ch 1, hdc in first 40 sts, [2 hdc in the next st, hdc in the next st] 6 times, hdc in the last 40 sts; turn.

Row 5: Ch 1, hdc in first 40 sts, [2 hdc in the next st, hdc in the next 2 sts] 6 times, hdc in the last 40 sts; turn.

Row 6: Ch 1, hdc in first 40 sts, [2 hdc in the next st, hdc in the next 3 sts] 6 times, hdc in the last 40 sts; turn.

Row 7: Ch 1, hdc in first 40 sts, [2 hdc in the next st, hdc in the next 4 sts] 6 times, hdc in the last 40 sts; turn.

I stopped here, I liked the size.  If you'd like it wider, continue the pattern with the increases.

Otherwise, sl st and fasten off.

You should now have a shape that looks like this:


Seaming: Fold the project in thirds, and seam the left side together and the right side together, turn inside out, and you're done!

I'd love to see your Mo Bay Clutch!

Tag me @othcrochetnook

Share:

Crochet Leaf Bookmark


Book lovers and yarn lovers unite!

I wanted to make a simple and easy bookmark that can be re-used over and over again.

These leaves are so quick to make and perfect for beginners.

Before I share the pattern, I did make a video tutorial on a lace corner bookmark if that's more your vibe, click HERE for the free pattern.

For this project you're going to crochet 2 leaves.

Leaf Pattern, make 2:

With cotton yarn, and a 5mm hook.

Ch 5

Row 1: SC, HDC, DC, DC, 6DC in the last stitch.

*DO NOT TURN*/work in the 4 sts on the other side

DC, DC HDC, SC, CH 1, SL ST TO JOIN.

Fasten off!

Layer one leaf on top of the other, and seam together, fasten off.

Now, attach yarn to the bottom of the leaves and work as many chains as you'd like (matching the length of your book).

That's it!

Happy reading :)

I'd love to see your Leaf Bookmark!

Tag me @othcrochetnook

Share:

Granny Square Crossbody Bag


Granny squares are such a staple with crochet. You can make so many things with granny squares and one of the more popular things to make with squares are bags.  This granny square crossbody bag is functional, colourful, and so much fun to make!

It's a great project for beginners, but also challenging enough for experienced crocheters who want to be inspired by different and more complex granny squares.

I designed a skirt pattern a few years ago, the Granny Square Don't Care Skirt.


I had a few granny squares left over and decided to use them to make this crossbody bag.

You only need 4 squares to make this bag! So easy and perfect for beginners.

First here is the easy granny square pattern:


Materials:

6.00mm hook

Finished Square Size:
6" x 6"

Legend:

CH - Chain
DC - Double Crochet
SL ST - Slip Stich

Granny Square:
(Colour A, double strand)
Ch 4.
SL ST in first ch.

First round (in circle): 

Ch 3 (counts as first dc). 2DC. Ch 2. 3DC. Ch 2. 3DC. CH 2. 3DC. Ch 2. SL ST to join. Fasten off.

FIRST ROUND

(Colour B, double strand)

Second round: 
1. In any corner space, attach yarn and: Ch 3 (counts as first dc). 2DC in open corner space. Ch 2. 3DC in the same open corner space. Ch 2.
2. *Now working in the next corner space: 3DC. Ch 2. 3 DC. 
3. *Repeat row above * two more times. 
4. Ch 2.  SL ST in top of first ch 3, fasten off.


SECOND ROUND

(Colour C, double strand)
Third round: 
1. In any corner space, attach yarn and: Ch 3 (counts as first dc). 2DC in corner space. Ch2. 3DC. 
2. In next open space (ch-2 from previous row): 3DC.
3. Now in next corner space: 3DC. Ch 2. 3 DC.
4. Repeat Row 2 and 3 twice
5. Repeat Row 2. 
6. SL ST in top of first ch 3, fasten off.


THIRD ROUND

(Colour A, double strand)

Fourth round: 
1. In any corner space, attach yarn and: Ch 3 (counts as first dc). 2DC in corner space. Ch2. 3DC. 
2. In next open space (ch-2 from previous row): 3DC. 
3. Repeat Row 2
4. Now in next corner space: 3DC. Ch 2. 3 DC. 
5. Repeat Row 2, 3, and 4 three times.
6. SL ST in top of first ch 3, fasten off.


FOURTH ROUND

Once you've made your 4 granny squares, see image below on how you should lay them out:

Source: https://crochetblog.net/how-to-crochet-a-bum-bag-crochet-granny-squares/

Go ahead and seam the squares together with slip stitches keeping the shape of the crossbody bag.

Adding leather strap:

I found a leather strap on a purse I didn't care for anymore. 

You can also go to your local thrift store and find a strap on a second hand purse.

Attach it to the crossbody bag and that's it!

You're done!


I'd love to see your Granny Square Crossbody Bag!

Share:

Crochet Face Scrubbies


I used to buy cotton face pads every few weeks. I was using them to remove my makeup every night and noticed how much waste I was creating.

I wanted to make my own reusable face scrubbies that I could use over and over again.

Crochet face scrubbies are easy to make, even for beginners. All you need is some cotton yarn, a crochet hook, and some basic crochet skills. There are a ton of free crochet face scrubbie patterns online, including this one!

Using cotton or bamboo yarn are perfect options, they are gentle on the skin and can easily be washed.


One tip, I double stranded my cotton yarn to make them more durable and last longer!

I chose to use COTLIN, it's hands down my favourite cotton yarn.

It's a perfect blend of cotton and linen that's easy to wash and extra soft.


Here is the pattern:

Yarn: Cotlin (DOUBLE STRANDED)
Hook: 5mm

STITCH:
Modified Puff Stitch (MPS):Yarn over, insert hook, pull up a loop, yarn over, insert hook, pull up a loop, yarn over, pull through all loops.


Chain 1

PATTERN BEGINS:
Chain 4, join with slip stitch at first chain to make a circle

Round 1: (MPS, Chain 1) x 6 inside the circle. Sl st to join, chain 1

Round 2: (MPS, Chain 1) in every stitch. Sl st to join, chain 1 (12 MPS)


Round 3: (MPS, Chain 1) in every stitch. Sl st to join, chain 1 (24 MPS)

Round 4: Single Crochet in every stitch around, sl st to join, fasten off. (24)

Done!

Can't wait to see your face scrubbies!

Tag me @othcrochetnook

Share:

Crochet Loofah


Being a maker has so many sustainable benefits. We make things with our hands. I've been thinking more green lately and using crochet to add reusable items to my everyday routine.

This crochet loofah is so easy to make and completely washable and reusable. The pattern is 1 stitch and 2 rounds - that's it! It will take you 20 minutes to make! So fast!

Best fibers to make a crochet loofah are: cotton, hemp, or jute. These are eco-friendly and biodegradable.  Traditional loofahs are made from plastic and can take hundreds of years to break down.

Crochet loofahs can be used for months with proper care and will reduce your carbon footprint instead of buying a new one every few months.

I used a pima cotton yarn for this pattern.  


Here is the pattern:

YARN: Cotton (worsted or weight 4)

HOOK: 5mm

Chain 5, join with sl st in first chain to make a circle

Round before pouf begins:
Add 20 Double Crochets inside the circle,
sl st to join.

Chain 30 (this is the pouf handle), join with sl st in first chain.

*optional: fasten off here and attach a new colour, if you want a different yarn for your loofah.


*chain 2 does not count as a st*

Round 1: Chain 2, 4 Double Crochets in every stitch, join with sl st.

Round 2: Chain 2, 4 Double Crochets in every stitch, join with sl st. Fasten off.

Done!

Can't wait to see your crochet loofah!


Share:
© OTH Crochet Nook | All rights reserved.
Blog Layout Created by pipdig