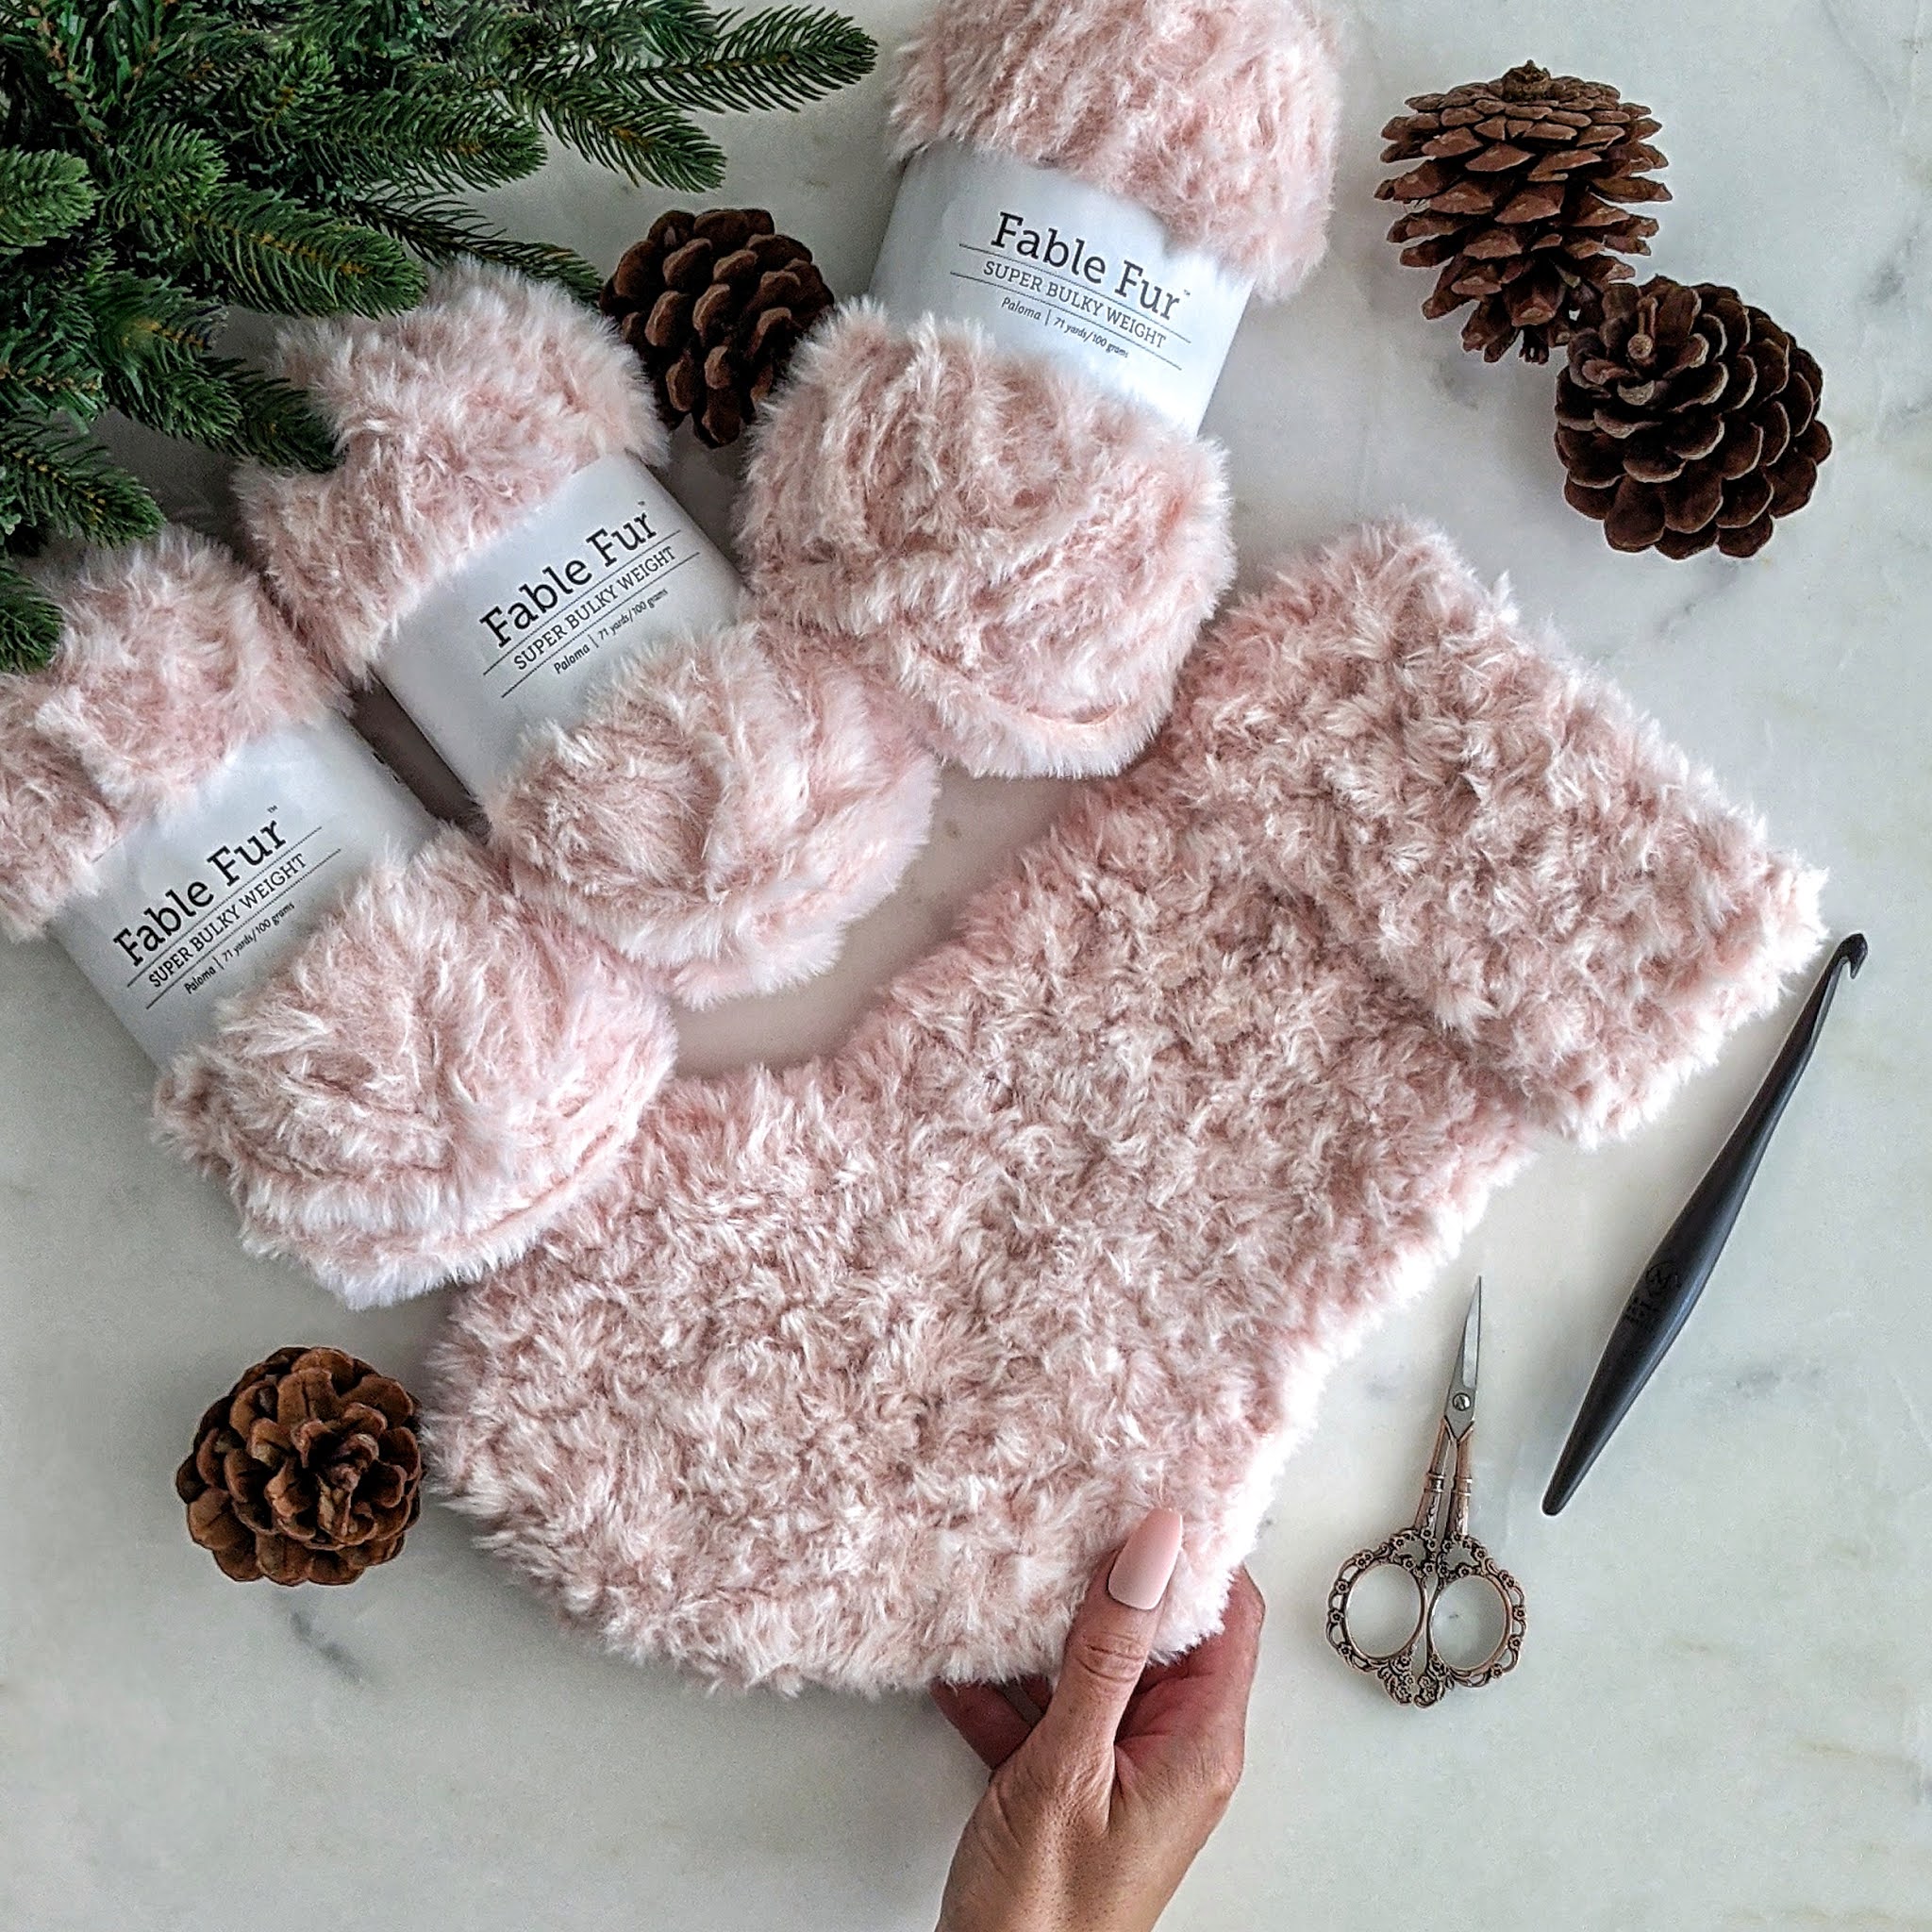


OTH Crochet Nook Pattern: Faux Fur Stocking
Level:
Easy/Advanced
Yarn:
1 x Fable Fur from WeCrochet (I used Topo [light blue] and Paloma [light pink])
Hook:
Size 8.00mm Furls Streamline Ergonomic Wooden Hook
Scissors
Gauge (in SC):
6 sts x 7 rows = 4"
Legend:
Ch = chain
SC = Single Crochet
Sl St = Slip Stich
Sts = stitches
2sc = 2 single crochets in the same stitch
Sc 2 = single crochet in the next two stiches
Sc2Tog = 1 single crochet between 2 stitches
Toe:
Ch 3. SS in first ch to make a circle.
Round 1: Ch 1. 8 sc in circle, sl st to join to first sc, Ch 1 (8)
Round 2: 2sc in each sc around, sl st to join, Ch 1 (16)
Round 3: *2sc, sc; repeat from * around, sl st to join, Ch 1 (24)
Round 4 - 6: Sc in each st around, sl st to join, Ch 1. (24)
*pattern will continue to Round 7 after you make the heel*
Heel:
*You will now work rows back and fourth across half of the stocking, decreasing for 4 rows, and then increasing for 4 rows. The heel will be seamed at this point (you will cut your yarn to seam, and join back to finish the stocking. I've included pictures below of each step of the heel.
Row 1: Sc in the next 12 sts, Turn, and Ch 1. (12)
Row 2: Sc2tog, sc in the next 8 sts, sc2tog in the last 2 sts, Turn. Ch 1 (10)
Row 3: Sc2tog, sc in the next 6 sts, sc2tog in the last 2 sts, Turn. Ch 1 (8)
Row 4: Sc2tog, sc in the next 4 sts, sc2tog in the last 2 sts, Turn. Ch 1 (6)
*increase begins
Row 5: 2sc in first st, sc in next 4 sts, 2sc in the last st, Turn. Ch 1 (8)
Row 6: 2sc in first st, sc in next 6 sts, 2sc in the last st, Turn. Ch 1 (10)
Row 7: 2sc in first st, sc in next 8 sts, 2sc in the last st, Turn. Ch 1 (12)
Row 8: Sc in the next 12 sts.
Now cut the yarn.
Fold heel flap, seam, and fold inside out as pictured below.


Ankle/Rest of Stocking:
Now join yarn at the back of the ankle and start working in the round.
(continued)
Round 7: Sc in each st around, sl st to join, Ch 1. (24)
Repeat Round 7 for 20 rows (the yarn will end here), sl st, and fasten off.
Fold top over to create a cuff.
Add/attach a ribbon/yarn/hook to hang it.

That's it!

Cant wait to see your Faux Fur Stocking.
Happy Holidays!
Tag me @OTHCrochetNook
No comments
Post a Comment