
It's a great project
for beginners, but also challenging enough for experienced crocheters who
want to be inspired by different and more complex granny squares.
I designed a skirt pattern a few years ago, the Granny Square Don't Care Skirt.
I had a few granny squares left over and decided to use them to make this crossbody bag.
You only need 4 squares to make this bag! So easy and perfect for beginners.
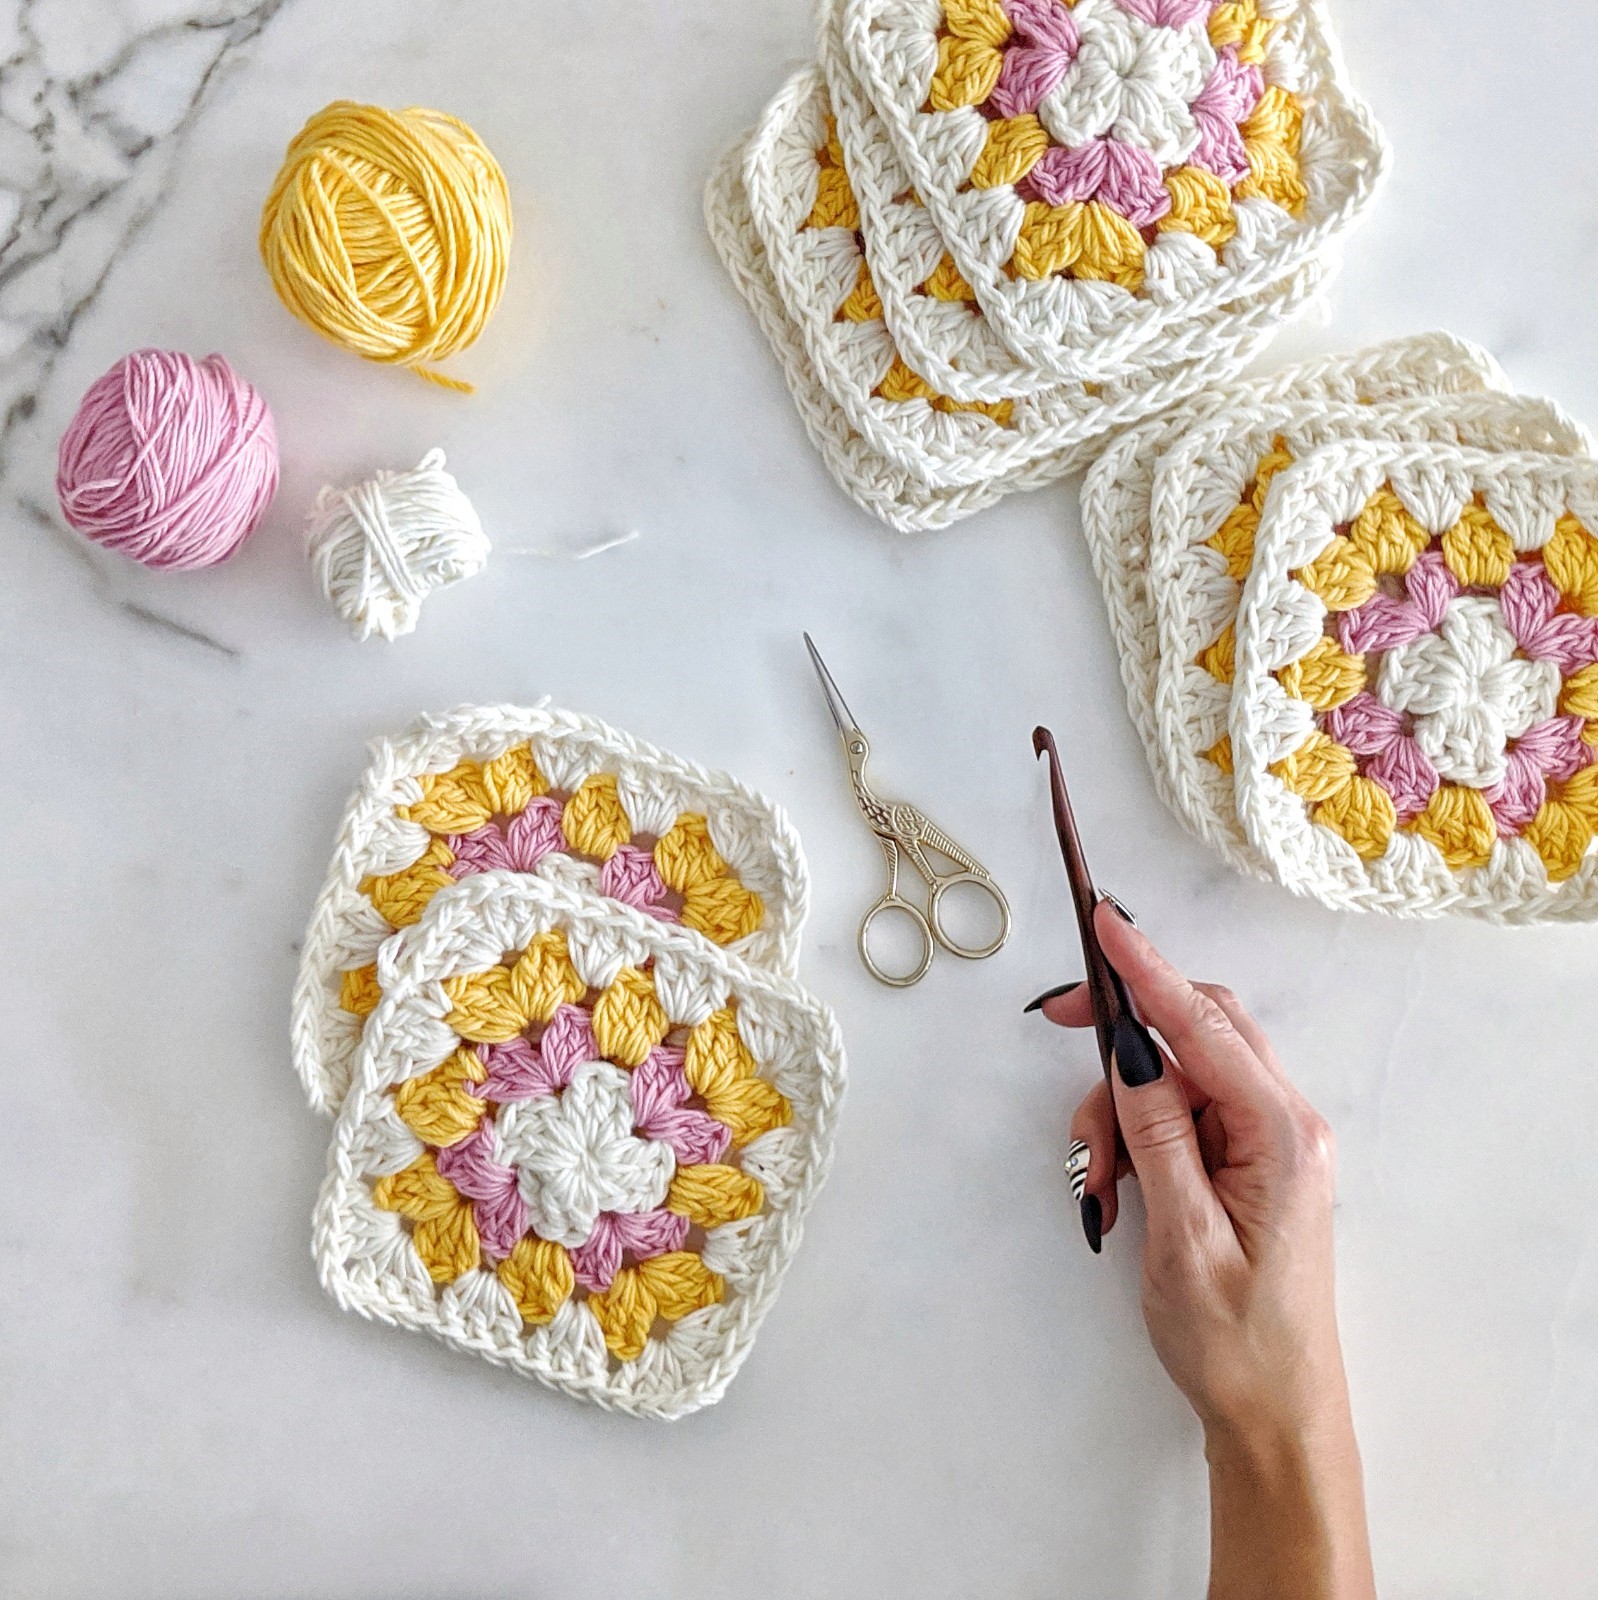
First here is the easy granny square pattern:
Materials:
6.00mm hook
Finished Square Size:
6" x 6"
Legend:
CH - Chain
DC - Double Crochet
SL ST - Slip Stich
Ch 4.
SL ST in first ch.
First round (in circle):
Ch 3 (counts as first dc). 2DC. Ch 2. 3DC. Ch 2. 3DC. CH 2. 3DC. Ch 2. SL ST to join. Fasten off.
 |
| FIRST ROUND |
(Colour B, double strand)
Second round:
1. In any corner space, attach yarn and: Ch 3 (counts as first dc). 2DC in open corner space. Ch 2. 3DC in the same open corner space. Ch 2.
2. *Now working in the next corner space: 3DC. Ch 2. 3 DC.
3. *Repeat row above * two more times.
4. Ch 2. SL ST in top of first ch 3, fasten off.
 |
| SECOND ROUND |
(Colour C, double strand)
Third round:
1. In any corner space, attach yarn and: Ch 3 (counts as first dc). 2DC in corner space. Ch2. 3DC.
2. In next open space (ch-2 from previous row): 3DC.
3. Now in next corner space: 3DC. Ch 2. 3 DC.
4. Repeat Row 2 and 3 twice
5. Repeat Row 2.
6. SL ST in top of first ch 3, fasten off.
 |
| THIRD ROUND |

(Colour A, double strand)
Fourth round:
1. In any corner space, attach yarn and: Ch 3 (counts as first dc). 2DC in corner space. Ch2. 3DC.
2. In next open space (ch-2 from previous row): 3DC.
3. Repeat Row 2
4. Now in next corner space: 3DC. Ch 2. 3 DC.
5. Repeat Row 2, 3, and 4 three times.
6. SL ST in top of first ch 3, fasten off.
 |
| FOURTH ROUND |

Once you've made your 4 granny squares, see image below on how you should lay them out:
 |
| Source: https://crochetblog.net/how-to-crochet-a-bum-bag-crochet-granny-squares/ |

Go ahead and seam the squares together with slip stitches keeping the shape of the crossbody bag.


I found a leather strap on a purse I didn't care for anymore.
You can also go to your local thrift store and find a strap on a second hand purse.
Attach it to the crossbody bag and that's it!

You're done!
.jpeg)
No comments
Post a Comment