
I love Christmas!
I love putting our tree up, pumping Christmas songs, and getting all the ornaments out.
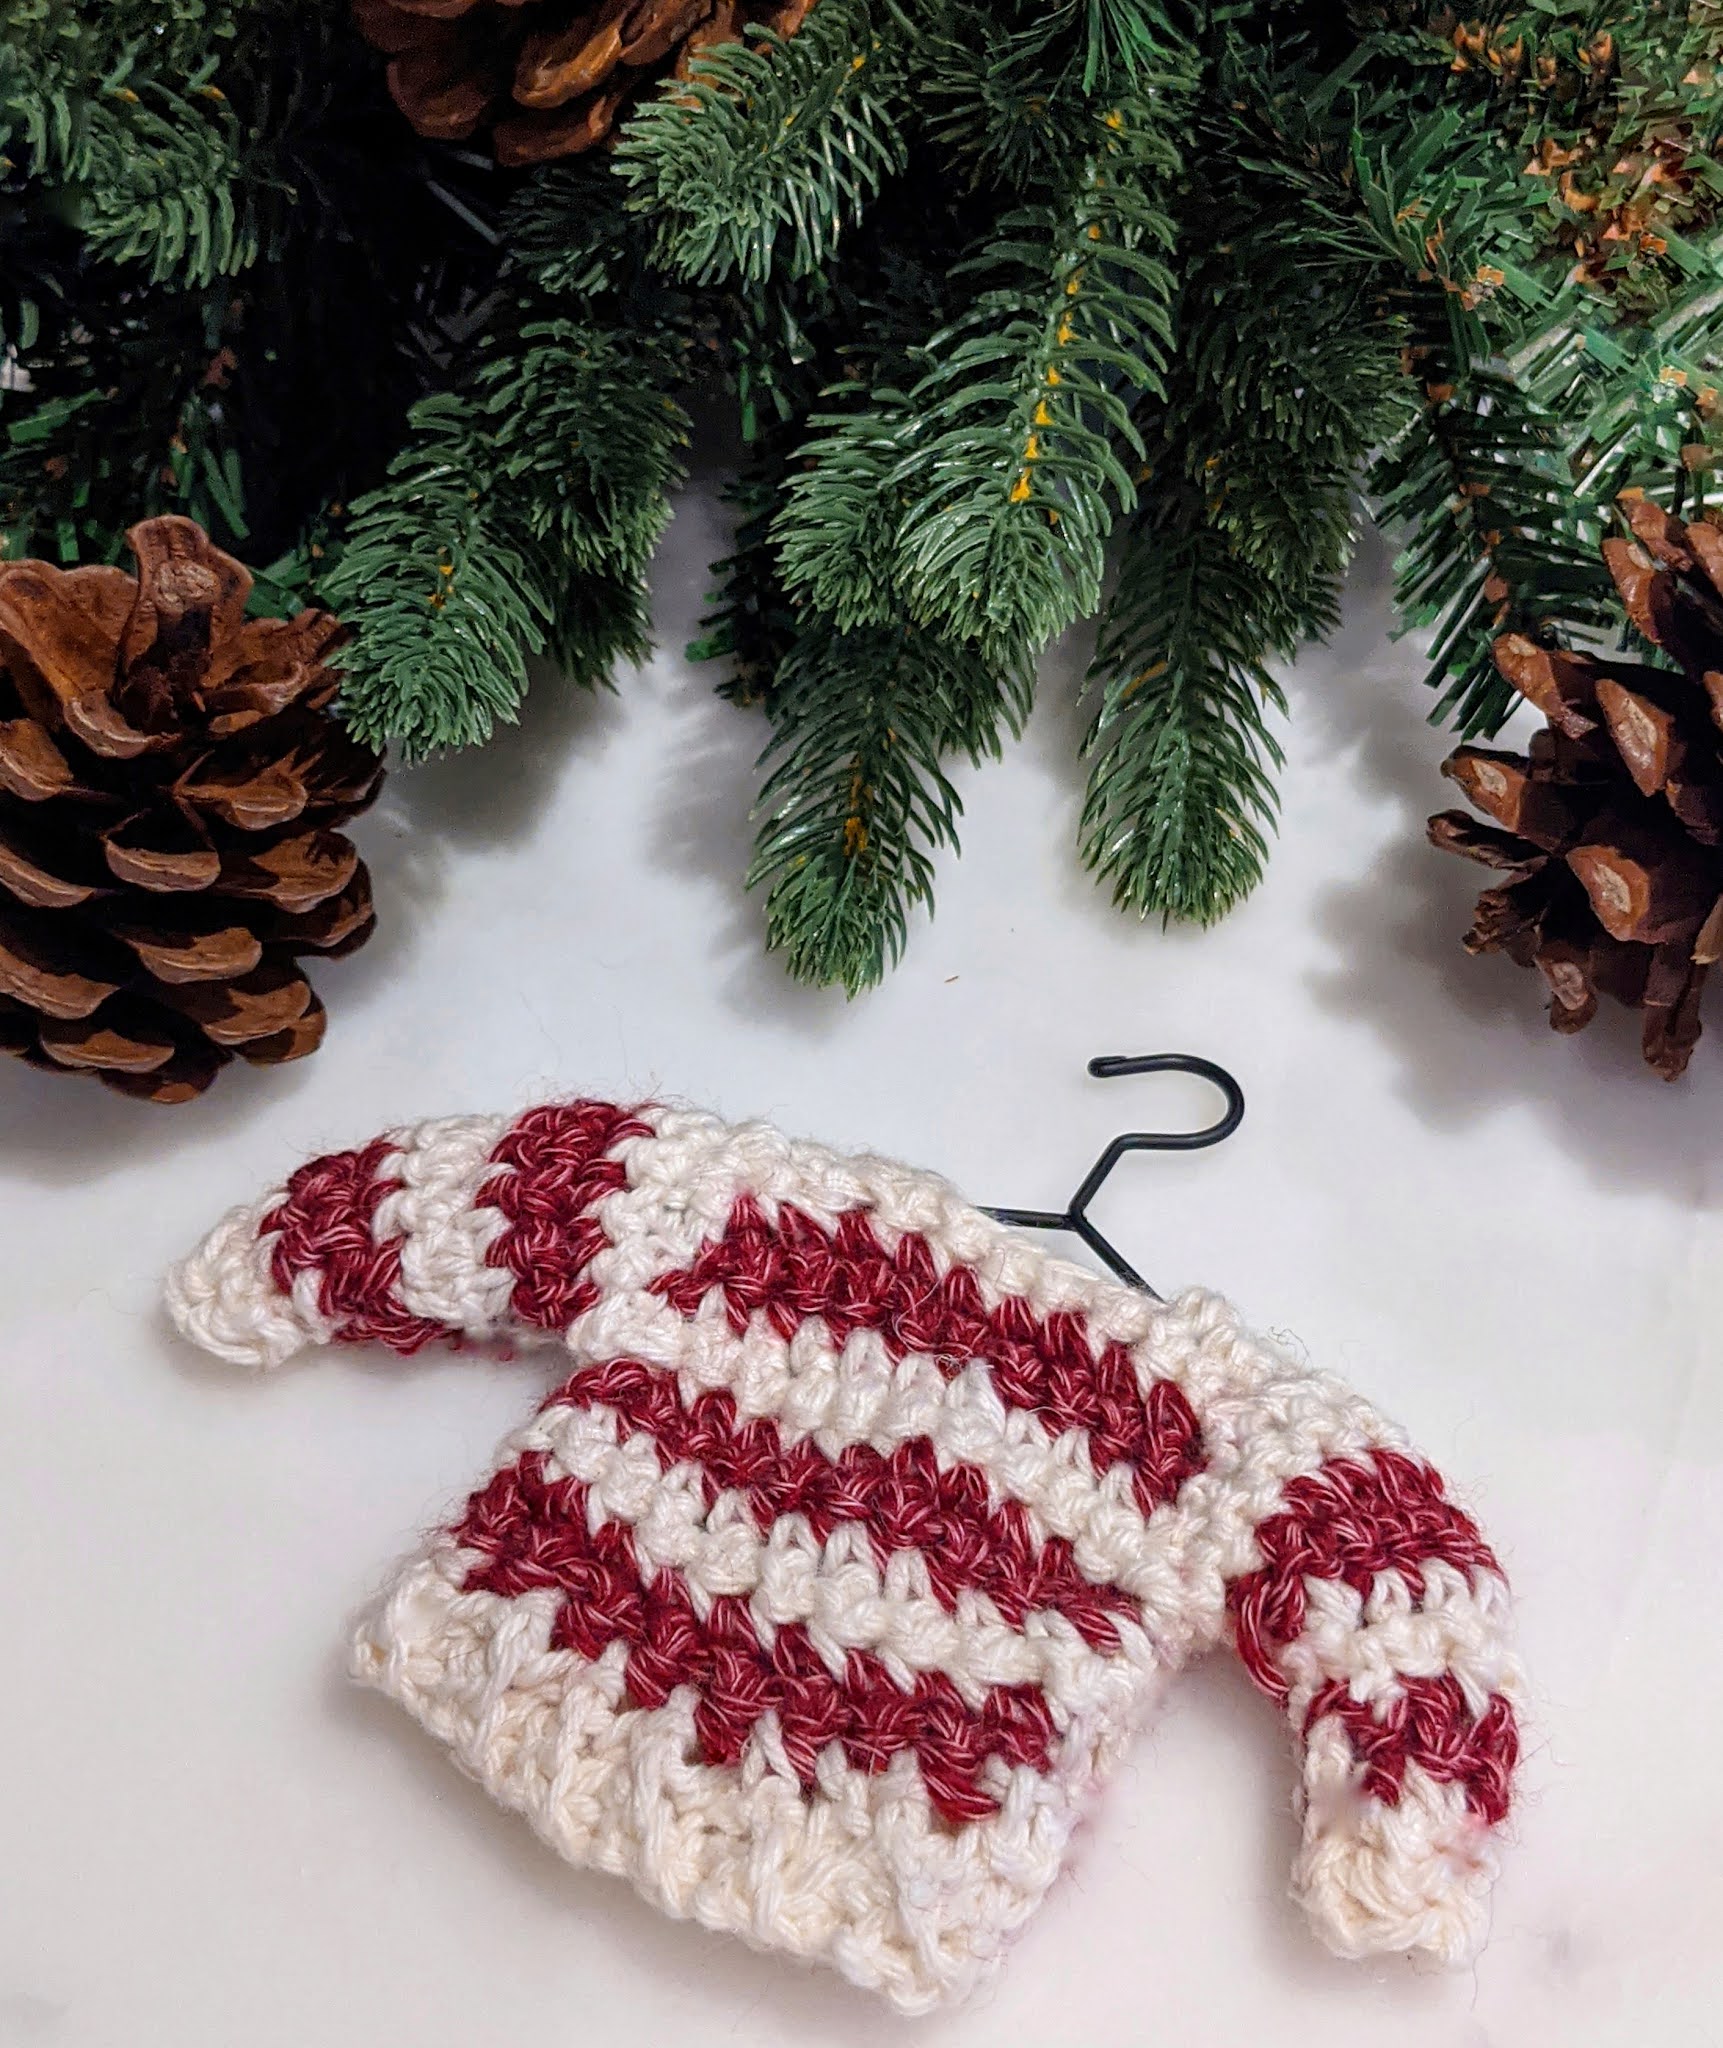
I wanted to add a few mini ornaments to add to our tree this year.
Here is the first of many: The Mini Sweater Ornament.
This pattern is very easy and identical to how you would
crochet a sweater in panels.
You can also make this in one solid colour instead of stripes, the options
are endless.
Notes:
-The front and back panels are made first, then seamed at the shoulders.
-The sleeves are worked flat right onto the seamed panels
-the mini sweater is folded in half and seamed under each sleeve and each side
-the mini hangers can be found on Amazon (I used my daughters doll clothes hanger..lol)
-this is a great project to use with scrap yarn, it doesn't use much at all.
Let's get started so you can hang it up on your tree tonight!
OTH Crochet Nook Pattern: Mini Sweater Ornament
Level: Easy
Yarn:
Scrap yarn in two colours of your choice (or make it one solid colour)
I used:
Colour A: Cotlin in Swan (WeCrochet)
Colour B: Kindred in Raspberry Cordial (WeCrochet)
Hook:
Size: 4.50 (G+) Furls Odyssey Hook
Scissors
Darning Needle
Gauge (in SC):
9 sts x 10 rows = 2" x 2" (this is so small, I only measured this by 2")
Legend:
Ch = chain
SC = Single Crochet
Sl St = Slip Stich
Sts = stitches
SCBLO = Single Crochet Back Loop Only

Panels (make 2, Front and Back):
(With Colour A)
Row 1: Sc in 2nd from hook, sc in next 2 sts. Ch 1. Turn.
Row 2: Ch 1, SCBLO in the next 3 sts. Ch 1. (3)
Rows 3 – 10: repeat row 2
Start body:
Add colour b (red) to top of ribbing
Row 1: SC in all stitches across ribbing. Ch 1. Turn. (10)
Row 2: repeat row 1
Add colour A (white)
Row 3: SC in all stitches across. Ch 1. Turn. (10)
Row 4: repeat row 3
Add colour B (red)
Row 5: SC in all stitches across. Ch 1. Turn. (10)
Row 6: repeat row 3
Add colour A (white)
Row 7: SC in all stitches across. Ch 1. Turn. (10)
Row 8: repeat row 3
Add colour B (red)
Row 9: SC in all stitches across. Ch 1. Turn. (10)
Row 10: repeat row 3
(shape shoulders)
Add colour A (white)
Row 11: SC in all stitches across (10)
Row 12: SC in the next 3, ch 1. Turn
Row 13: SC in the next 3, sl st, fasten off

Add colour A (white) to other side
Row 12 (cont’d): SC in the next 3, ch 1. Turn.
Row 13 (cont'd): SC in the next 3, ch 1. Turn.
*Attach front/back panel BEFORE adding sleeves
Sleeves (make 2):
*see photo below on where to join yarn to start sleeve

Join yarn.
Row 1: Sc 10 across, ch 1. Turn
Row 2: repeat row 1
With Colour B (red)
Row 3: repeat row 1
Row 4: repeat row 1
WIth Colour A (white)
Row 5: sc2tog, sc across leaving last 2 sts unworked, sc2tog, ch 1. Turn
Row 6: Sc across, ch 1, Turn (8)
With Colour B (red)
Row 7: sc2tog, sc across leaving last 2 sts unworked, sc2tog, ch 1. Turn
Row 8: Sc across, Ch 1, Turn. (6)
With Colour A (white)
Row 9: sc across, ch 1. Turn (6)
Row 10: repeat row 9.
Sl St. Fasten off.
(join on other side and repeat sleeve pattern)

Seaming:
Fold in half.
Seam with sl sts under each arm and on each side. (see diagram below)
Weave in ends.
Turn inside out.


All done!
Look for more mini ornaments, coming soon!
I'd love to see your Mini Sweater.
Tag me @OTHCrochetNook
you didn't mention what st is.used.for seaming ; whip, ss, sc, mattress? important to the pattern. thanks
ReplyDeleteThank you, it's sl st. I'll add that.
Delete